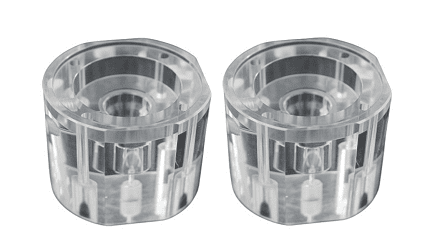
What Are the CNC Machined Acrylic Tips?
Struggling with cracked or melted acrylic parts? This common issue wastes material and time. You need a reliable method to get a perfect finish every time.
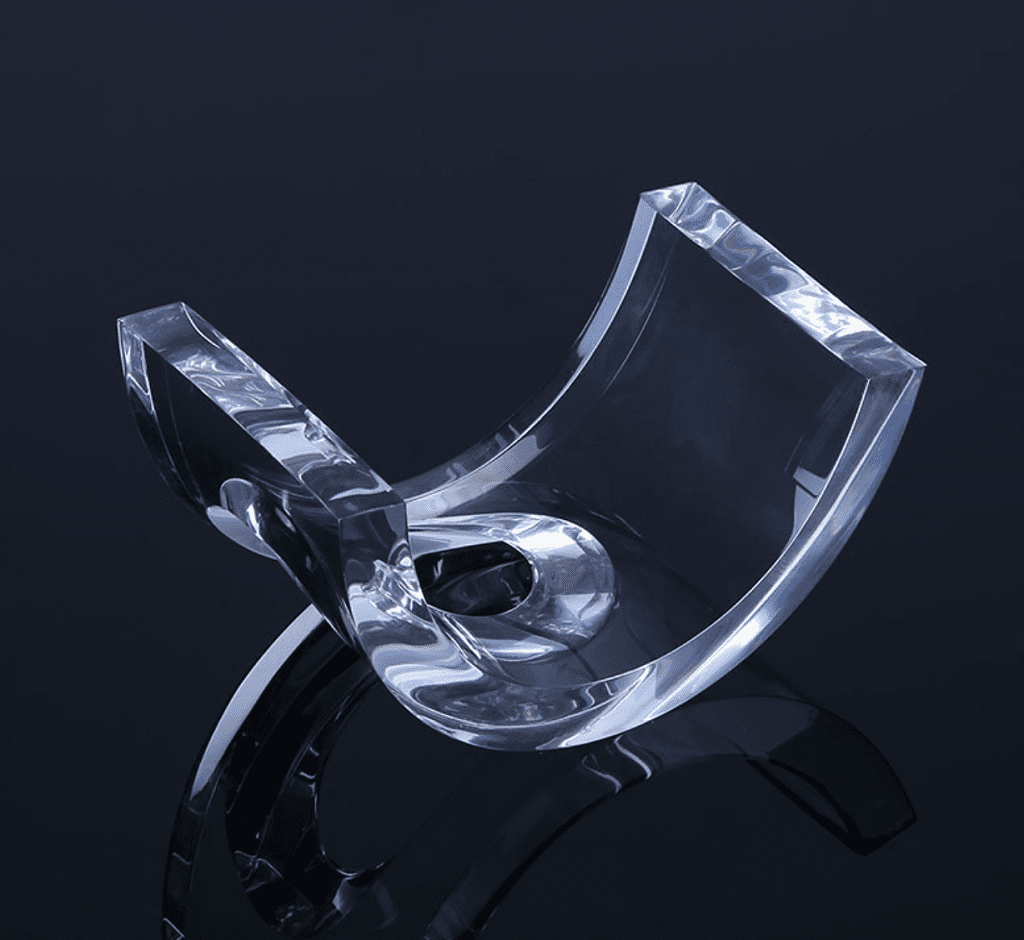
To successfully CNC machine acrylic, use sharp, appropriate tools, maintain a consistent feed rate, and manage heat with proper cooling. This prevents melting, cracking, and ensures a clean, polished finish. Proper setup is the key to achieving high-quality, precise acrylic parts.
I remember a client, Mark from Canada, who was having trouble with a supplier. His acrylic parts were arriving with micro-cracks and cloudy finishes. It was a classic case of improper technique. After we took over the project, we showed him how a few simple adjustments could make all the difference. Machining acrylic isn't hard, but it demands attention to detail. Let's go through the key points so you can get it right from the start.
Can acrylic be CNC machined?
Wondering if your intricate design can be made from acrylic? You might worry about its fragility and achieving a clean cut. CNC machining is the perfect solution.
Yes, acrylic can be CNC machined very effectively. CNC provides the high precision needed to cut, engrave, and shape acrylic into complex designs. The method is ideal because automation ensures consistency, which is crucial for preventing melting or cracking the material during the process.
Acrylic is a fantastic material, but it has its quirks. You can't just treat it like aluminum or steel. Its low melting point means you have to manage heat carefully. This is why CNC machiningis such a great fit. A CNC machine gives you total control over speeds, feeds, and tool paths, which is essential for getting a clean, smooth result without heat damage. I always explain to my clients that the choice between cast and extruded acrylic also plays a huge role.
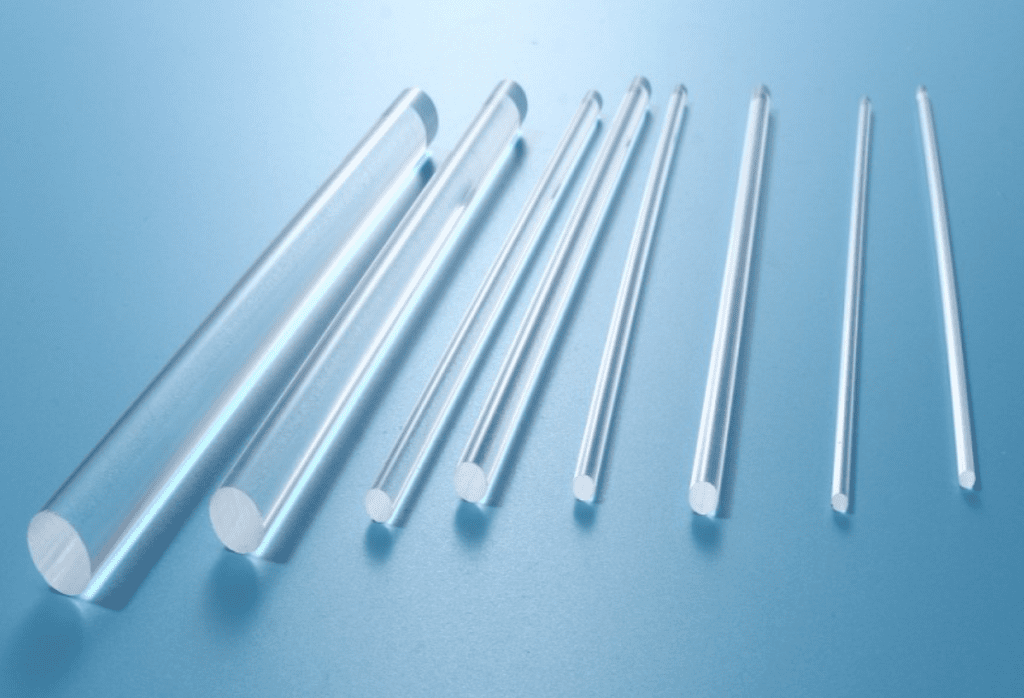
Cast vs. Extruded Acrylic for Machining
Cast acrylic is harder and has a higher melting point, which makes it much better for machining. It produces clean chips and a smoother surface finish. Extruded acrylic is softer and can be a bit gummy, which often leads to melting if your settings aren't perfect.
| Feature | Cast Acrylic | Extruded Acrylic |
|---|---|---|
| Machinability | Excellent, chips easily | Fair, tends to melt |
| Melting Point | Higher | Lower |
| Surface Finish | Smoother, easier to polish | Can be gummy, requires care |
| Cost | More expensive | Less expensive |
For most high-quality parts where appearance matters, I always recommend cast acrylic. The slight extra cost is worth it for the superior results and easier processing.
What RPM is needed for CNC acrylic?
Getting melted edges or a rough finish on your acrylic parts? Your spindle speed is likely wrong. This simple mistake can ruin an entire workpiece.
The ideal RPM for machining acrylic is typically between 18,000 and 24,000. A high spindle speed combined with a fast feed rate is crucial. This formula ensures the cutter is moving quickly enough to shear the material cleanly before significant heat builds up and causes melting.
The relationship between spindle speed (RPM) and feed rate is the most important factor in acrylic machining. I call it the "speed and feed" sweet spot. If your RPM is high but your feed rate is too slow, the cutter spins in one place for too long. This generates a lot of friction and heat, which instantly melts the acrylic. The melted plastic then sticks to the tool, ruining both the bit and your part. On the other hand, if your feed rate is too fast for your spindle speed, you risk breaking the tool or cracking the acrylic.
Finding the Right Balance
You need to find a balance where the tool is constantly moving and cutting fresh material. This evacuates chips efficiently and keeps heat to a minimum. A good cooling system, like compressed air or a coolant mist, is also a must. It helps clear chips and lowers the temperature at the cutting edge.
Here are some starting points I use for a single-flute cutter:
| Cutter Diameter | Spindle Speed (RPM) | Feed Rate (mm/min) |
|---|---|---|
| 3 mm | 20,000 - 24,000 | 1500 - 2500 |
| 6 mm | 18,000 - 22,000 | 2000 - 3500 |
| 8 mm | 18,000 - 20,000 | 2500 - 4000 |
Always start with a conservative feed rate and increase it gradually while listening to the machine and checking the chip quality. Small, clean chips are a sign of good settings.
What CNC bit for acrylic?
Using the wrong tool bit for acrylic? This can cause chips, cracks, or a melted, unusable finish, destroying your material and wasting money.
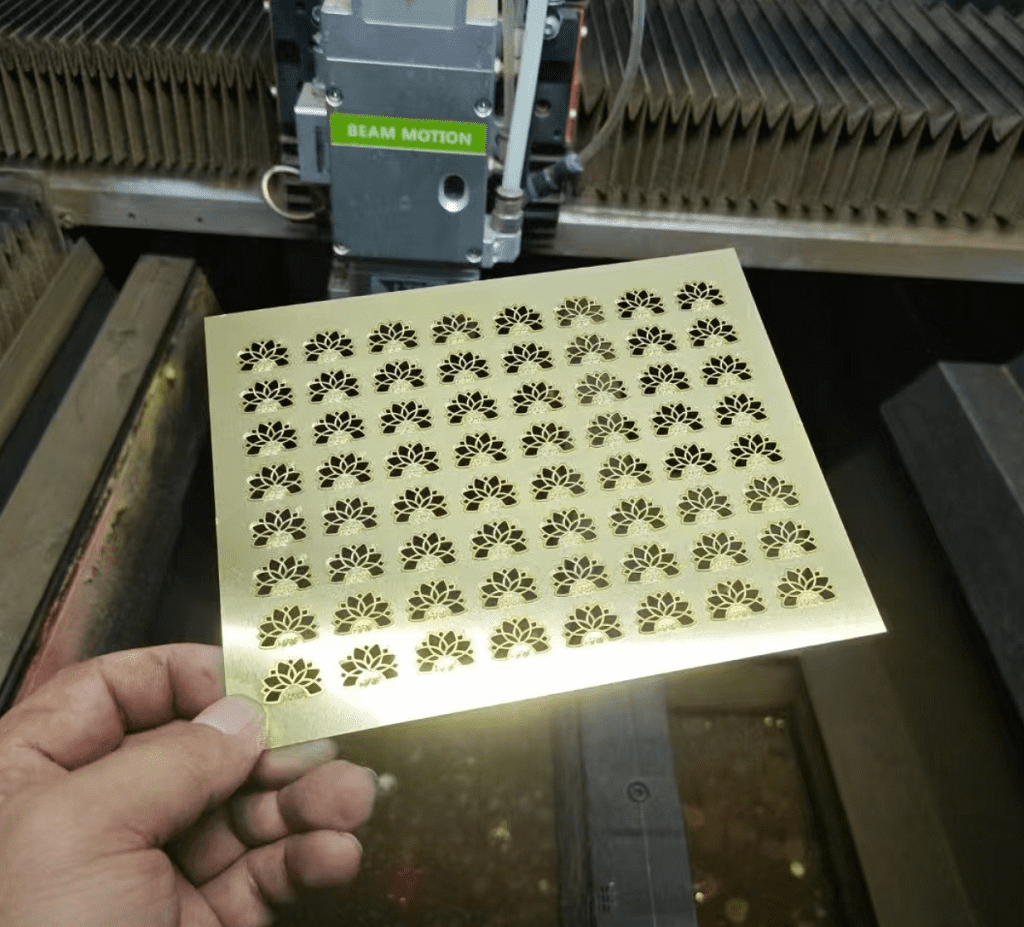
The best CNC bits for acrylic are single-flute or two-flute spiral 'O' flute cutters made from solid carbide. 'O' flutes have a unique circular flute design that ejects chips very efficiently. This is critical for preventing heat buildup and melting when working with plastics.
The geometry of the cutting tool is everything when it comes to acrylic. Standard wood or metal bits just don't work well. Their cutting angles are too aggressive, which causes them to grab and chip the material rather than shearing it cleanly. I've had many customers come to us after struggling with generic bits. Once we switch them to the right tool, the difference is night and day.
Key Features of a Good Acrylic Bit
The best bits for plastics have specific features designed to handle the material's low melting point.
- Flute Count: Fewer flutes are better. A single-flute bit provides the most room for chip evacuation. A double-flute bit can also work well if the feed rate is high enough. More flutes will just create more heat.
- Flute Type: The 'O' flute design is superior. Its polished, rounded shape lifts chips up and away from the cutting area without packing them in. This is much better than the standard square flutes found on general-purpose bits.
- Tool Material: Solid carbide is the standard. It stays sharp longer and handles high RPMs without issue. A sharp tool is non-negotiable for achieving a smooth, almost polished edge right off the machine.
Never use a down-cut spiral bit for acrylic. It pushes chips down into the cut, causing them to pack up and melt. Always use an up-cut spiral bit to pull chips out.
What type of CNC machine is used for acrylic?
Are you unsure if your CNC machine can handle acrylic jobs? Using a machine without the right speed and stability can lead to poor results and vibrations.
CNC routers are the most common and effective machines for acrylic. They are designed for high spindle speeds (often over 18,000 RPM), which is essential for cutting plastic cleanly without melting. A rigid frame is also important to minimize vibration and ensure a smooth surface finish.

While CNC milling machines can also cut acrylic, they are often overkill and their lower RPM range can make things difficult. CNC routers are the perfect tool for the job. At Worthy, our machines can handle large acrylic sheets up to 2,032 x 1,219 mm. The key features we rely on are a high-speed spindle and a robust vacuum table. The vacuum table is critical for holding the acrylic sheet perfectly flat and secure during machining. Any movement or bowing in the material will lead to inconsistent cut depths and a poor finish.
Essential Machine Capabilities for Acrylic
When evaluating a CNC machine for acrylic, I always check for these three things:
- High-Speed Spindle: The machine must be able to achieve at least 18,000 RPM. This is the most important requirement. Without high speed, you will struggle with melting no matter what tooling or feed rates you use.
- Rigidity and Stability: The machine's frame, gantry, and lead screws must be sturdy. Acrylic is brittle, and any machine vibration or "chatter" will translate directly into a choppy, flawed edge on your part.
- Cooling/Chip Evacuation System: An effective system, like a directed air blast or a coolant mist, is vital. It serves two purposes: it cools the tool and workpiece to prevent melting, and it clears chips away so they don't get re-cut.
A standard 3-axis CNC router with these features is perfectly capable of producing high-quality acrylic parts for everything from signs and displays to complex industrial components.
Conclusion
Mastering CNC acrylic machining is simple. Use sharp 'O' flute bits, high RPMs, fast feed rates, and proper cooling. These key steps will guarantee a clean, professional finish.