How to Prevent Common Defects in High-Precision Metal Stamping?
Are project delays and cost overruns from part defects hurting your business? These issues can compromise your final product. Understanding the root causes is the key to preventing them.
To prevent common defects in high-precision metal stamping, you must focus on three key areas: optimizing tool and die design, adjusting stamping process parameters, and enforcing strict material selection. This proactive approach helps avoid burrs, surface scratches, part warping, and expensive parts that fall outside of tolerance.
When we get a new project, especially from a demanding industry like automotive or electronics, the first thing my team and I look at is the potential for defects. It's not about being negative; it's about being realistic. A single, consistent defect can ruin an entire production run, costing thousands of dollars and delaying shipments for our clients. It's a risk we can't afford to take. That’s why we believe that preventing problems is always better than fixing them. Let's dig deeper into the specific defects you might face and how you can stop them before they start.
What are the defects in the stamping process?
Unseen defects can ruin your entire production run. This wastes time and money and can damage your reputation with your customers. Knowing exactly what to look for is the first step.
The most common defects in the metal stamping process include burrs, surface scratches or scuffs, warpage, and dimensional inaccuracies. These problems usually come from worn-out tooling, incorrect material choices, or poorly set process parameters like press speed and lubrication.

Over the years, I've seen almost every type of defect you can imagine. I remember a project for a client who needed a series of complex electronic shields. The initial samples had tiny burrs along the edges. While small, these burrs could cause short circuits on the final PCB. We had to halt production and re-evaluate our die clearance. It taught us a valuable lesson: tiny details have a huge impact. To help you identify these issues early, let’s break down the most frequent problems.
Key Stamping Defects Explained
Understanding these defects is crucial for any procurement officer or engineer. Here is a simple table outlining the main issues, their causes, and how they affect your final product.
| Defect | Common Causes | Impact on Your Product |
|---|---|---|
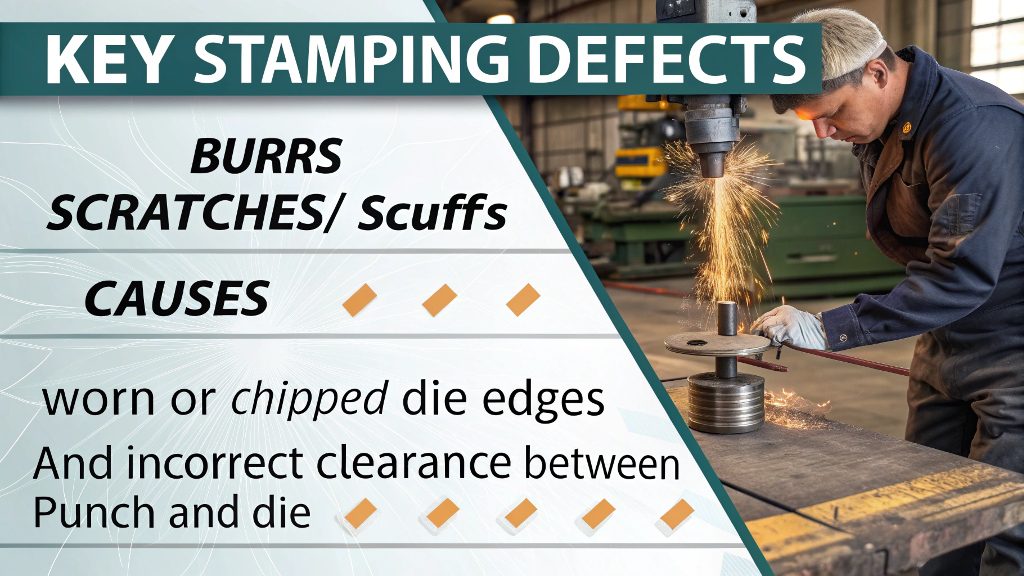
| Burrs | Worn or chipped die edges, incorrect clearance between punch and die. | Can cause assembly problems, create safety hazards (sharp edges), and lead to electronic shorts. |
| Scratches/Scuffs | Rough tooling surfaces, improper handling, lack of lubrication. | Ruins the cosmetic appearance of the part and can compromise protective surface coatings. |
| Warping/Distortion | Internal material stresses, unbalanced die design, incorrect press settings. | Parts will not be flat, leading to poor fit in assemblies and functional failure. |
| Dimensional Inaccuracy | Tool wear over time, material variations, springback effect. | The part will not meet the design specifications and will be rejected during quality control. |
What are some common defects in sheet metal bending operations and how can they be prevented or corrected?
Bending metal seems simple, but it can often go wrong. When it does, cracks and inaccuracies can make your parts totally useless, forcing expensive re-runs and causing project delays.
The most common defects in sheet metal bending are cracking, uncontrolled springback, and wrinkling. You can prevent these by using a proper bend radius for the material, controlling the bending speed, and using die cushions. Correction might involve coining, bottoming, or adjusting your tooling setup.

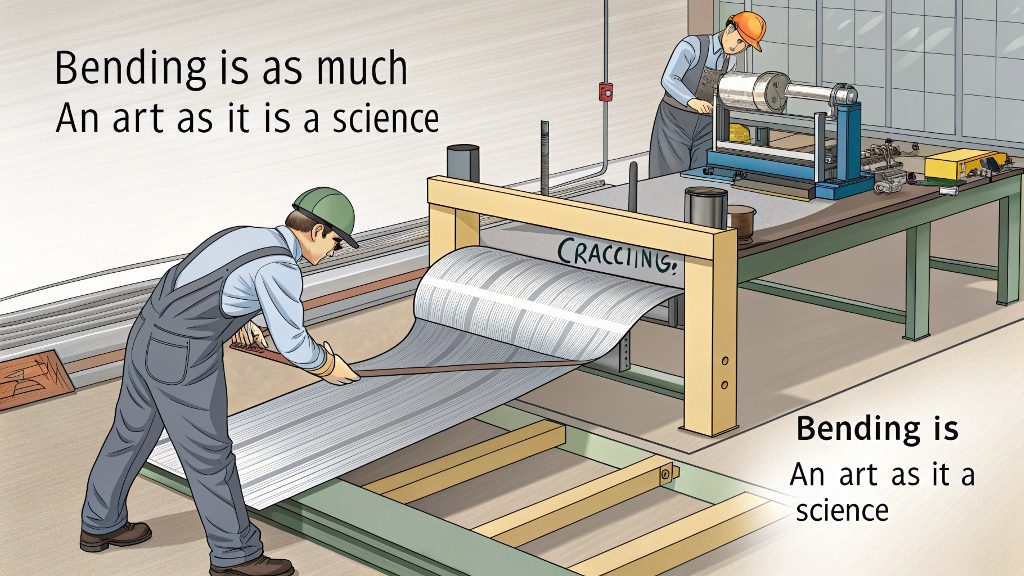
Bending is as much an art as it is a science. One of the biggest challenges we face is springback—the natural tendency for metal to try and return to its flat shape after being bent. For a client in the aerospace industry, a few degrees of springback variance was the difference between a part that fit and one that was scrap. We had to use a specific technique called "bottoming," where we apply extra force to "set" the bend and eliminate springback. This level of control is essential for high-precision jobs.
Mastering the Bend
Let's look at how to manage the most common bending issues to ensure your parts are perfect every time.
-
Cracking: This happens when the bend radius is too small for the material's thickness and type. The outer surface of the bend is stretched too far and it fractures. To prevent this, always follow material supplier guidelines for the minimum bend radius. If you see cracking, you must increase the bend radius or switch to a more ductile material.
-
Springback: This is a huge challenge in precision forming. To counteract it, we use a few methods. One is overbending, where we intentionally bend the part slightly more than the target angle. Another is coining or bottoming, where the punch applies intense pressure at the end of the stroke, setting the material in the bend zone. Accurate prediction using software and experienced engineers is key here.
-
Wrinkling: This usually occurs on the inside of the bend, especially with thin materials or large bend radii. It's caused by compressive stress. Using a pressure pad or a die cushion during the bending operation can apply counter-pressure and keep the material smooth.
How to keep metal stamping straight?
Your stamped parts are coming out warped or twisted. This is a serious problem because it means they won't fit or function correctly in the final assembly, causing big headaches.
To keep metal stampings straight, you must manage the internal stresses created during stamping. This involves optimizing your die design for balanced pressure, using the a good material grade, and controlling the stamping speed. Post-stamping stress-relieving through heat treatment can also guarantee flatness.

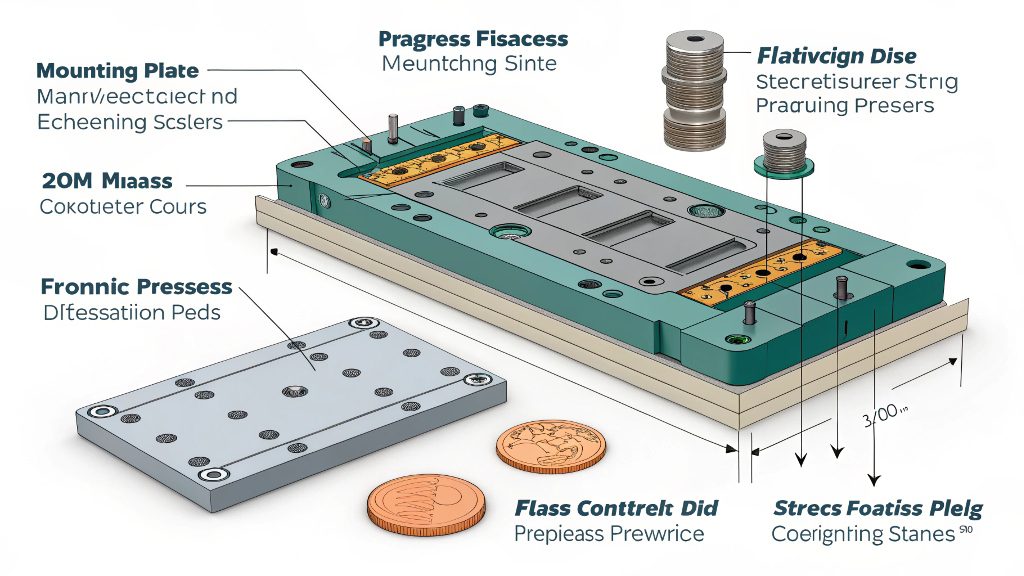
Flatness is a non-negotiable requirement for many of the parts we make, especially mounting plates and electronic enclosures. I once worked with a robotics startup in North America that needed retainer plates that were flat to within 0.05mm. The parts were U-shaped, and the stress from forming the legs was causing the base to bow. Our engineers redesigned the progressive die strip layout. We added idle stations and designed specific pressure pads to counteract the forming forces, ensuring the part remained perfectly flat as it moved through the die.
Strategies for Flatness
Achieving perfect flatness is about controlling stress from start to finish. Here’s how we do it:
Designing for Flatness
The process starts long before the metal is hit. In the tool design phase, our engineers model the material flow and stress distribution. We design the progressive die with balanced cutting and forming forces across the entire tool. Sometimes, we intentionally add small coin marks or ribs in non-critical areas to add stiffness and resist bowing.
In-Process Adjustments
During production, several factors are monitored:
- Material Grain Direction: Stamping across the grain is more stable than stamping with it. We always orient the parts on the material coil to ensure maximum stability.
- Lubrication: Uneven lubrication can cause the material to drag on one side of the die, leading to twisting. A consistent, even application is critical.
- Press Speed: Running the press too fast can increase stress. We find the optimal speed that allows the material to form cleanly without introducing unnecessary distortion.
What are the three defects in metal drawing operation?
Drawing metal into cups or shells often creates unique flaws. These specific defects, like wrinkles or tears, can cause parts to fail under pressure or not seal correctly in an assembly.
The three main defects in a deep drawing operation are wrinkling, fracturing, and earing. Wrinkling is from too much compressive force, fracturing from too much tensile force, and earing is caused by the material's uneven properties. Control of these is vital for successful drawing.

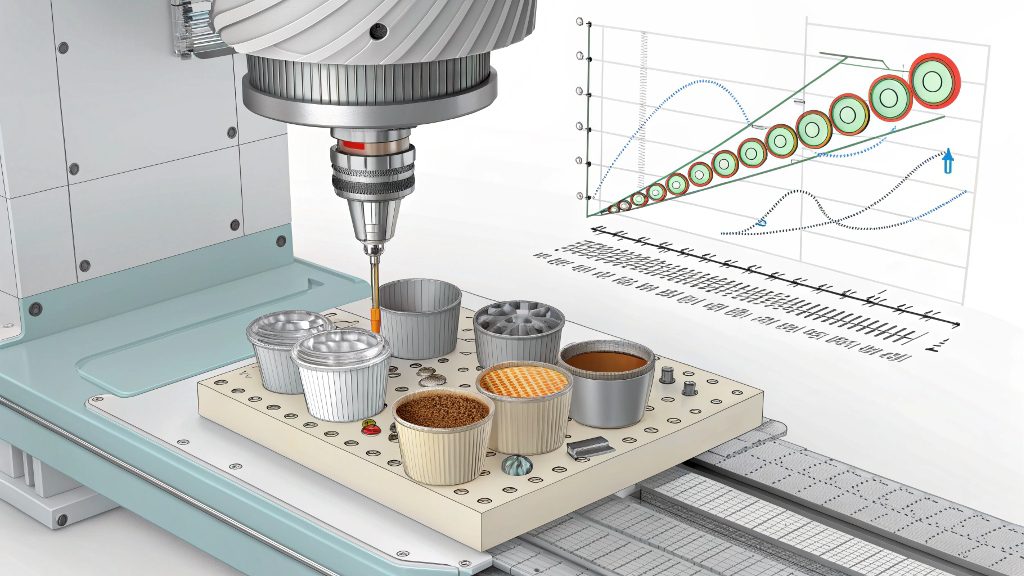
Deep drawing is a complex process. We produce millions of small cups for an automotive sensor client, and the wall thickness and height have to be exact. At the beginning, we struggled with "earing," where the top edge of the cup was wavy instead of flat. This was caused by the anisotropic properties of the sheet metal coil. We worked with our material supplier to source a "drawing quality" grade of steel with more uniform properties. This, combined with slight adjustments to our blank holding pressure, solved the issue and eliminated a costly secondary trimming operation.
Deep Drawing Defect Prevention
Each drawing defect has a specific cause and a specific solution. Here's a breakdown of the three big ones:
| Defect | Description | Prevention Method |
|---|---|---|
| Wrinkling | Wavy, accordion-like folds form in the flange or wall of the drawn part. This is from uncontrolled compressive forces in the material. | Increase the blank holding pressure. Use a draw bead in the die to control material flow. Reduce lubrication to create more friction. |
| Fracturing | The part tears or splits during the drawing process. This is because the tensile stress exceeds the material's strength, often at the punch nose radius. | Reduce the blank holding pressure. Increase the punch or die radius to allow for a smoother material flow. Use a better lubricant. |
| Earing | Wavy, ear-like projections form on the top edge of a drawn cup. This is caused by the metal's directional properties (anisotropy). | Select a material with low anisotropy (often called "drawing quality" material). Rotate the blank relative to the material's rolling direction. |
Conclusion
In summary, preventing stamping defects relies on smart tool design, precise process control, and high-quality materials. This proactive approach ensures you receive reliable, high-quality parts that meet your specifications.
