What Are the Conditioning Process in Heat Treating ?
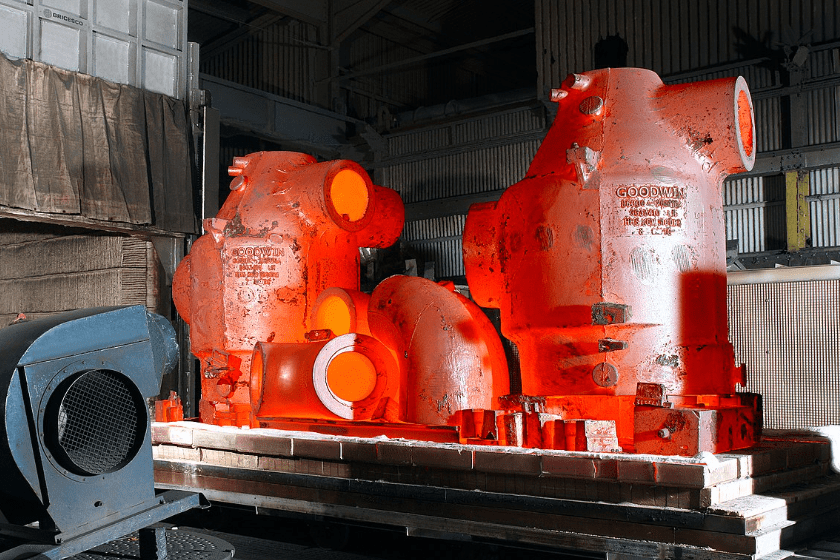
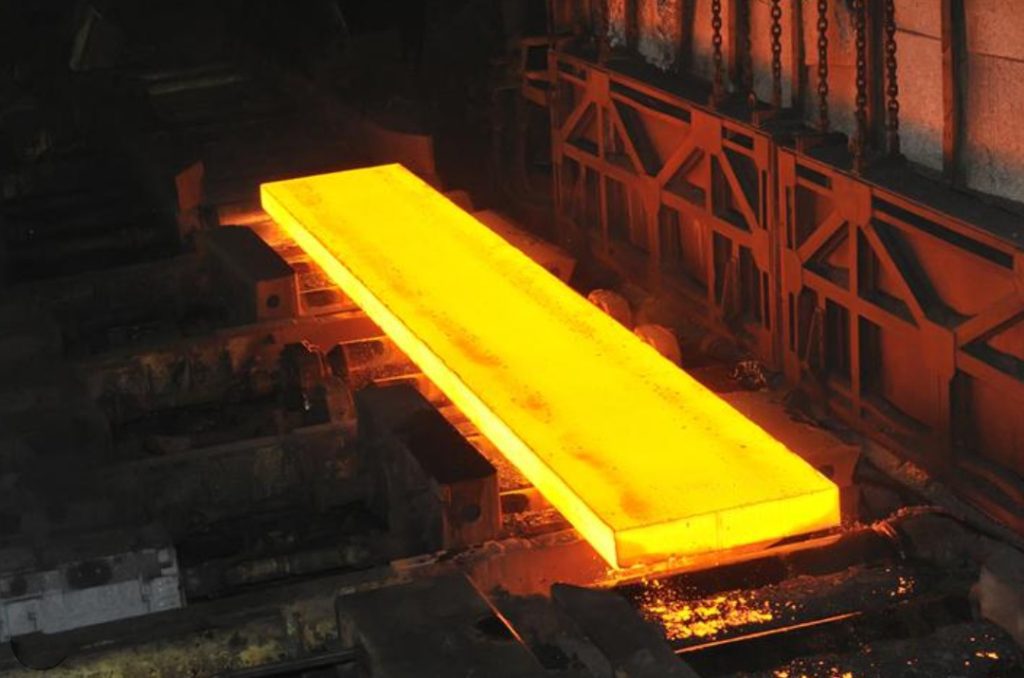
The conditioning process in heat treating involves specific stages of heating, holding, and cooling metals. These steps alter a material's physical and mechanical properties, such as hardness and strength, to meet precise engineering requirements without changing the part's shape.
I've seen firsthand how a well-executed heat treatment can transform a good part into a great one. But it's a process that demands precision from start to finish. A single misstep can compromise the entire batch. So, let's break down each stage of the conditioning process, starting with what you need to do before the heat is even turned on. It's all in the details.

What Shoud We Do in the Preparation Stage?
(1) Check whether the equipment and instruments are normal.
(2) Check whether the material of the part meets the drawing requirements.
(3) Check whether the size of the parts conforms to the drawings and process documents.
1) It is advisable to first roughen the tempered parts. For components with a cross-section exceeding 100mm and internal holes, drilling should be performed before tempering, and sharp corners must be avoided.
2) The machining allowance of the tempered part should be greater than the allowable deformation.
(4) Be familiar with the process requirements, and determine the hanging form according to the size and shape of the quality of the blank part. The hanging part can be used in the structure of the part itself or added to the part.
(5) When the large parts are tempered, the required auxiliary cooling device must be checked, and the furnace can be loaded only when it is confirmed that it is reliable.
(6) The tempered parts with different quenching temperature shall not be treated in the same furnace, and the effective thickness of the parts treated in the same furnace shall be similar.
What Is The Process Specifications?
Process specifications are the written instructions for a heat treatment cycle. They detail every parameter, including heating rates, holding temperatures, soaking times, and cooling methods. These documents ensure that every part is treated exactly the same way, producing consistent and repeatable results every time.
(1) Common steel tempering and treatment specifications (see Table 3-7-9)
Table 3-7-9 Common steel tempering and treatment specifications
| grade of steel | quench | tempering | Hardness after tempering: HBs | ||
| temperature /℃ | cooling medium | temperature /℃ | cooling medium | ||
| 35 | 840 ~ 860 | water | 550 ~ 600 | air | 220 ~ 250 |
45 | 820 ~ 840 | water | 600 ~ 640580 ~ 620540 ~ 570 | air | 200 ~ 230220 ~ 250250 ~ 280 |
| 50 | 820 ~ 840 | water | 580 ~ 620 | air | 220 ~ 250 |
40cr | 840 ~ 860 | oil | 640 ~ 680600 ~ 640560 ~ 600 | air | 200 ~ 230200 ~ 250250 ~ 280 |
| 35siMn | 850 ~ 870 | oil | 600 ~ 650 | Air or oil | 220 ~ 250 |
| 42siMn | 840 ~ 860 | oil | 640 ~ 660610 ~ 630 | Air or oil | 200 ~ 230220 ~ 250 |
| 60si2MnA | 840 ~ 860 | oil | 650 ~ 700 | air | 220 ~ 250 |
| 35crMO | 850 ~ 870 | oil | 600 ~ 660 | air | 250 ~ 280 |
| 38crMOAIA | 930 ~ 950 | oil | 620 ~ 690 | air | 240 ~ 300 |
45MnB | 840 ~ 860 | oil | 630 ~ 670600 ~ 650550 ~ 600 | Air or oil | 200 ~ 230220 ~ 250250 ~ 280 |
40MnvB | 830 ~ 850 | oil | 600 ~ 650580 ~ 620550 ~ 600 | Air or oil | 200 ~ 230220 ~ 250250 ~ 280 |
| 50Mn2 | 820 ~ 840 | oil | 550 ~ 600 | Oil, water | 250 ~ 280 |
| 65Mn | 810 ~ 830 | oil | 630 ~ 680 | air | 220 ~ 250 |
| T8A | 780 ~ 800 | water | 630 ~ 680 | air | 200 ~ 230 |
| temperature /℃ | cooling medium | temperature /℃ | cooling medium | ||
| T10A | 800 ~ 820 | Water → Oil | 630 ~ 680 | air | 200 ~ 230 |
| T12A | 800 ~ 820 | Water → Oil | 630 ~ 680 | air | 200 ~ 230 |
| Gcr15 | 840 ~ 860 | oil | 650 ~ 700 | Chamber → Air | 207 ~ 255 |
| 9Mn2V | 800 ~ 820 | oil | 630 ~ 650 | air | 220 ~ 250 |
| crMn | 850 ~ 870 | oil | 680 ~ 700 | Chamber → Air | 197 ~ 241 |
| GrWMn | 840 ~ 860 | oil | 650 ~ 700 | Chamber → Air | 197 ~ 241 |
| W18cr4V | 920 ~ 950 | oil | 700 ~ 720 | Chamber → Air | ≤270 |
| cr12MoVcr12Mo | 1020 ~ 1050 | air | 680 ~ 720 | Chamber → Air | 207 ~ 241 |
| 2cr13 | 1000 ~ 1050 | Oil, air | 600 ~ 700 | Chamber cooling ← air | 220 ~ 250 |
1. After furnace cooling, the air is discharged and cooled below 500℃.
2. T10A and T12A steels require prolonged tempering.
(2) Calculation of insulation time
1) Quenching and holding time is determined according to the material, effective thickness, heating medium, furnace loading method, furnace loading quantity and other specific conditions of the parts. The quenching and holding time is calculated according to the following formula:
T = KαD
where T is the insulation time (min);
K—Furnace loading coefficient (typically 1 to 1.5);
α -insulation coefficient;
D — Effective thickness of the part (mm).
The selection of insulation coefficient α is shown in Table 3-7-10.
Table 3-7-10 Selection of insulation coefficient α
| Equipment and furnace temperature | Heat insulation coefficient α/(min/mm) | ||
| carbon steel | alloy steel | high-alloy steel | |
| 500 ~ 650℃Box electric furnace or salt bath furnace bath preheating | 1.5 to 2.0 (box furnace) 0.8 to 1.0 (salt bath furnace) | ||
| 770 ~ 880%Salt bath furnace heating or preheating | 0 .25 ~ 0 . 35 | 0 .4 ~ 0 .5 | 0 . 3 ~ 0 .4 |
| 770 ~ 900℃Box or well furnace heating | 1 .0 ~ 1 .2 | 1 .2 ~ 1 .5 | |
| 980 ~ 1100℃High temperature salt bath furnace heating | 0 .25 ~ 0 . 35 | ||
The quenching oil should be free from water, mud, sand and other impurities. Its cooling performance should meet the process requirements, without obvious aging, and the texture should be generally uniform.
What is Temperature measurement and temperature control equipment?
1) The heating furnace used for conditioning shall be equipped with a complete set of temperature measurement, indication and control equipment, and shall have an automatic recording device.
2) The total deviation of the reading of the thermoelectric temperature measuring instrument shall not exceed the range in Table 3-7-11.
Table 3-7-11 Total deviation of measuring instrument reading (℃)
| Given temperature t | Total temperature deviation |
| ≤400 | ± 4 |
| > 400 | ± t/100 |
How about the Operation method and precautions?

(1) When the quenching temperature is the same and the effective thickness is different, the parts must be discharged in batches according to the insulation time when loaded in the same furnace
(2) For parts with large cross-sectional changes and sharp edges and corners, the lower limit temperature should be used during quenching heating to prevent quenching cracks.
(3) When the parts are loaded into the furnace for heating, they are generally one layer, and two layers can be loaded for small parts.
(4) The tempered parts should not be placed in the cooling tank in piles during quenching to prevent uneven cooling and excessive deformation.
(5) After quenching, the tempered parts should be hardened. After meeting the requirements, the tempering temperature should be determined according to the measured hardness and performance requirements.
(6) The parts should be tempered in time after quenching. The stopping time before high temperature tempering should not exceed 8h. The parts that are easy to crack should be tempered immediately.
(7) The furnace temperature during high-temperature tempering should not exceed the specified tempering temperature. To prevent crack formation, the furnace temperature for high-alloy steel parts during high-temperature tempering should not exceed 300℃.
(8) After the workpiece is fired at high temperature, it should be placed on a dry ground to cool down.
(9) The tempered parts shall be bent and corrected, and then stress relief treatment shall be carried out.
How to make Strength calculation of general low carbon steel fixtures and lifting fixtures?
The first thing to understand is that steel loses a significant amount of its strength as it gets hotter. A simple low carbon steel that is strong at room temperature might become soft and weak at annealing or normalizing temperatures. So, you can't use the room-temperature yield strength for your calculations. Instead, you must refer to material data tables that show the tensile strength and yield strength of that specific steel grade at the intended operating temperature. For example, the strength might decrease by 50% or more.
Once you have the de-rated strength value for the operating temperature, you can perform a basic stress analysis. Calculate the total weight of the parts the fixture will hold. This load will create stress (force per unit area) in the fixture's cross-sections. Your calculation must show that this stress is well below the material's de-rated yield strength. We always apply a safety factor, often 3:1 or higher, to account for uncertainties, dynamic loads during movement, and material degradation over many cycles. This ensures the fixture can be used safely and reliably time after time.
(1) The tensile strength σb is 6Mpa for long-term use at 950℃, and 10Mpa for short-term use.
(2) Bending strength under bending force σbb (MPa) for circular cross-section
rectangular section
where M is the torque (N·m);
d— diameter (m);
b — width (m);
h — height (m). See Figure 3-7-1 for the calculation of the moment.
(3) The shear strength is calculated as half of the tensile strength;
(4) The strength of heat-resistant steel fixture can be calculated as 10 times that of low carbon steel.
Conclusion
Mastering heat treatment's conditioning process requires careful preparation, precise specifications, and strict operational control. This attention to detail is essential for producing strong, reliable, and high-quality parts consistently.

