How To Meet Tight Tolerances When Machining Fiberglass Components?
Struggling to get fiberglass parts machined accurately? The abrasive nature and potential for delamination make hitting tight tolerances tough. Let me share some insights from my experience at Worthy.
Achieving tight tolerances in fiberglass machining generally means working within a range of +/- 0.1mm to +/- 0.5mm. This range satisfies most common applications. Success depends heavily on selecting the right machining approach and parameters for your specific part's needs.
Meeting precision requirements, especially with tricky materials like fiberglass composites, isn't straightforward. It involves understanding the limits of machining, the types of tolerances that are hardest to hold, and the processes best suited for accuracy. Let's dive deeper into how we navigate these challenges to deliver quality parts for customers like Mark Chen, who values both precision and competitive pricing. Making sure we get it right avoids delays and quality issues down the line.
What is the tightest machining tolerance possible?
Need parts with extreme precision? Pushing the boundaries of accuracy can seem daunting. Knowing the absolute limits helps set realistic goals for your most demanding components.
The tightest achievable machining tolerances can reach the sub-micron level (+/- 0.0001mm or less). This level of precision requires highly specialized processes like diamond turning or precision grinding, specific materials, and tightly controlled environments.
Reaching the ultimate limits of machining accuracy depends on several critical factors working together perfectly. First, the machine itself must be incredibly capable – think high resolution, extreme stiffness to resist cutting forces, and thermal stability to prevent expansion or contraction during operation. Then, the tooling is vital; diamond tools or perfectly ground carbide tools are often necessary. The material being machined plays a huge role; stable metals are easier to machine precisely than composites like fiberglass or materials prone to warping.
Even the environment matters – temperature, humidity, and vibration must be strictly controlled. Finally, you need advanced metrology, like Coordinate Measuring Machines (CMMs) or laser interferometers, to even verify tolerances this tight. Processes like diamond turning, lapping, honing, and precision grinding are typically used for these applications, far beyond standard CNC work.
| Factor | Importance for Ultra-Tight Tolerances | Examples/Considerations |
|---|---|---|
| Machine Tool | Very High | Stiffness, thermal stability, resolution |
| Cutting Tools | Very High | Sharpness, material (e.g., diamond), coating |
| Material | High | Stability, homogeneity, machinability |
| Environment | High | Temperature control, vibration isolation |
| Measurement | Very High | CMM, laser interferometry, optical methods |
| Machining Process | Very High | Diamond turning, precision grinding, lapping |
Which tolerance is most difficult to machine?
Find yourself constantly battling certain types of tolerances? Some specifications cause more machining headaches than others. Identifying these challenging tolerances helps focus your efforts and refine your process.
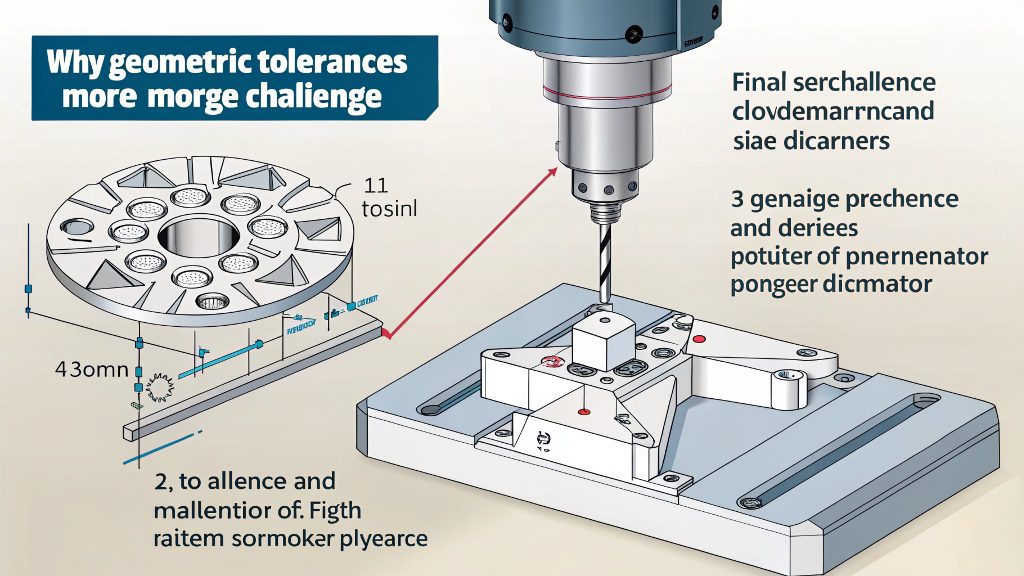
Geometric Dimensioning and Tolerancing (GD&T) features like true position, perpendicularity, parallelism, concentricity, and flatness are often the most difficult to machine accurately. These involve relationships between multiple features, demanding precise control over the entire setup and process.

Why are geometric tolerances tougher than simple size dimensions (like length or diameter)? A simple diameter might just depend on the final cutting pass.
But achieving parallelism between two surfaces requires the machine axes to move perfectly relative to each other throughout the cut. Achieving tight true position for a pattern of holes demands accurate location in multiple axes simultaneously, rigid workholding, and minimal tool deflection.
Concentricity between two diameters, especially on long parts, is challenging due to potential part sagging, runout in the spindle or chuck, and tool pressure variations.
Flatness over a large area is difficult because of material stresses, clamping distortion, and the need for the machine tool to maintain perfect planarity.
Controlling these requires advanced machine capabilities (like 5-axis machining, meticulous setup procedures, high-quality tooling, often slower machining speeds, and sophisticated inspection methods. It’s about controlling the relationship and orientation between features, not just the size of one feature.
Which manufacturing process that we learned about can achieve the tightest tolerance?
Searching for the most precise way to make your parts? With various methods available, knowing which ones excel at accuracy is key. This helps you choose the right process for demanding applications.
Among common industrial processes, grinding, lapping, honing, and specialized ultra-precision CNC machining (like diamond turning) generally achieve the tightest tolerances. These methods are often used as finishing steps to reach sub-micron accuracy.

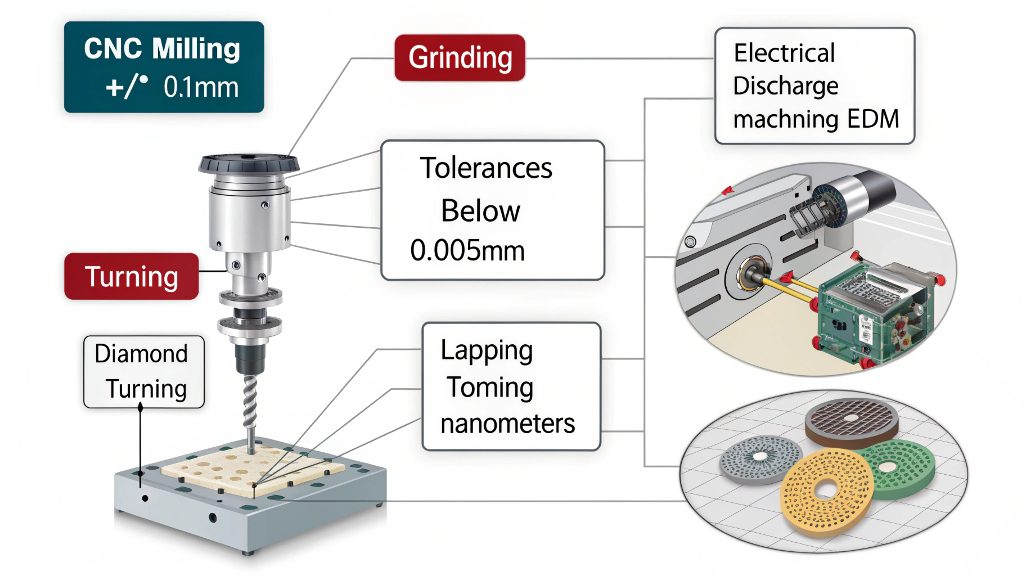
When we talk about standard manufacturing processes, there's a hierarchy in terms of achievable precision. Basic CNC milling and turning offer good accuracy, often sufficient for many parts (like +/- 0.1mm). However, for tighter requirements, we look towards finishing processes.
Grinding uses abrasive wheels to remove tiny amounts of material, achieving excellent surface finish and tolerances often below +/- 0.005mm. Lapping and honing use abrasive slurries or stones for even finer finishes and tolerances, often used for sealing surfaces or bearing fits, sometimes reaching +/- 0.001mm or better.
Electrical Discharge Machining (EDM) can create complex shapes in hard materials with good precision. For the absolute highest precision, especially on specific materials like aluminum or copper alloys used for optics, diamond turning uses a single-crystal diamond tool under extremely controlled conditions to achieve surface finishes and tolerances measured in nanometers. The choice depends heavily on the material, the required tolerance level, part geometry, and, of course, cost.
| Process | Typical Tight Tolerance Capability | Common Use Case |
|---|---|---|
| Standard CNC Milling/Turning | +/- 0.05mm to +/- 0.1mm | General purpose parts |
| Precision CNC Machining | +/- 0.005mm to +/- 0.025mm | High-accuracy components |
| Grinding | +/- 0.001mm to +/- 0.01mm | Shafts, flat surfaces, profiles |
| Lapping/Honing | +/- 0.0005mm to +/- 0.005mm | Sealing surfaces, cylinder bores |
| EDM | +/- 0.005mm to +/- 0.02mm | Complex shapes, hard materials |
| Diamond Turning | < +/- 0.0001mm (sub-micron) | Optical components, mirrors |
What is the tolerance for CNC machining?
Wondering what accuracy to expect from standard CNC machining? Setting realistic expectations based on typical capabilities is risky for quoting and design. Understanding these standard limits is crucial.
For general CNC machining of fiberglass components, tolerances typically range from +/- 0.1mm to +/- 0.5mm. This meets many application needs. Tighter tolerances are possible but require specific attention to process control.

Standard CNC machining tolerance capability isn't a single fixed number; it varies based on several factors. The ISO 2768 standard provides common guidelines, with class 'm' (medium) often cited, suggesting tolerances around +/- 0.1mm to +/- 0.3mm for smaller metal features, expanding as size increases.
For plastics and composites like fiberglass, standard tolerances are often looser, typically starting around +/- 0.1mm and going up to +/- 0.5mm or more, depending on the feature and overall part size.
At Worthy, we generally hold +/- 0.127 mm for metals and +/- 0.254 mm for plastics as standard, but fiberglass requires special consideration due to its abrasive nature (causing tool wear) and tendency to fray or delaminate.
Achieving tighter tolerances, like the sub +/- 0.025mm we offer, needs careful planning: using sharp, specialized tools (like diamond-coated or PCD), optimizing cutting speeds and feeds to minimize heat and tool pressure, ensuring rigid workholding, employing precise measurement tools, and sometimes using slower cycle times. This all adds to the cost compared to standard tolerance work.
Conclusion
Achieving tight tolerances in fiberglass requires specific know-how. Understand the material's challenges and typical tolerance ranges (0.1mm-0.5mm), choose the right process, and implement careful controls for success.

