What Is End Milling And How Can It Perfect Your Parts?
Struggling to create complex, precise features on your parts? Your current methods are slow and inaccurate, costing you time and money. End milling is the versatile machining solution you need.
End milling is a precise cutting process that uses a rotating multi-toothed tool, called an end mill, to remove material from a workpiece. It is essential for creating complex shapes, slots, pockets, and contours with extremely high accuracy, making it a cornerstone of modern manufacturing.
Now, you might be wondering what makes this process so special compared to other cutting methods. The magic is in the tool itself and the way it moves to slice away material, almost like a sculptor carving a masterpiece from a block of stone. I've spent years watching these machines work, and it's fascinating every time. Let's dig into how it all comes together to create the custom parts you need.
How Does the End Milling Process Actually Work?
You know you need milling, but the actual steps seem complicated. Mistakes in the process lead to scrapped parts and project delays. Understanding the core steps makes it simple and repeatable.
The process involves clamping a workpiece securely and using a rotating end mill to cut it. The cutter’s teeth on its sides and end remove chips of material. The machine moves either the workpiece or the tool along multiple axes to create the final designed shape.

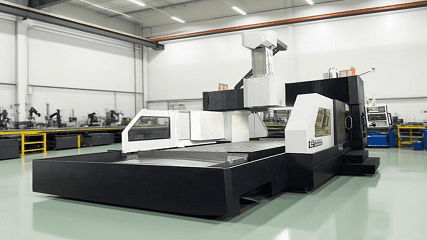
To really get it, let's break the process down. At my company, Worthy, we see this every day. A customer sends us a digital design, and we turn it into a physical product. Milling is generally divided into vertical milling and horizontal milling. Vertical milling, or what most people call end milling, is when the cutting tool is perpendicular to the workpiece. This setup is incredibly versatile and perfect for machining larger parts or parts with complex, irregular heights.
Here’s a closer look at the key stages:
Step 1: Design and Programming
Everything starts with a CAD (Computer-Aided Design) model. Our engineers use CAM (Computer-Aided Manufacturing) software to translate this design into cutting instructions, called G-code. This code tells the CNC machine exactly where to move, how fast to go, and how deep to cut.
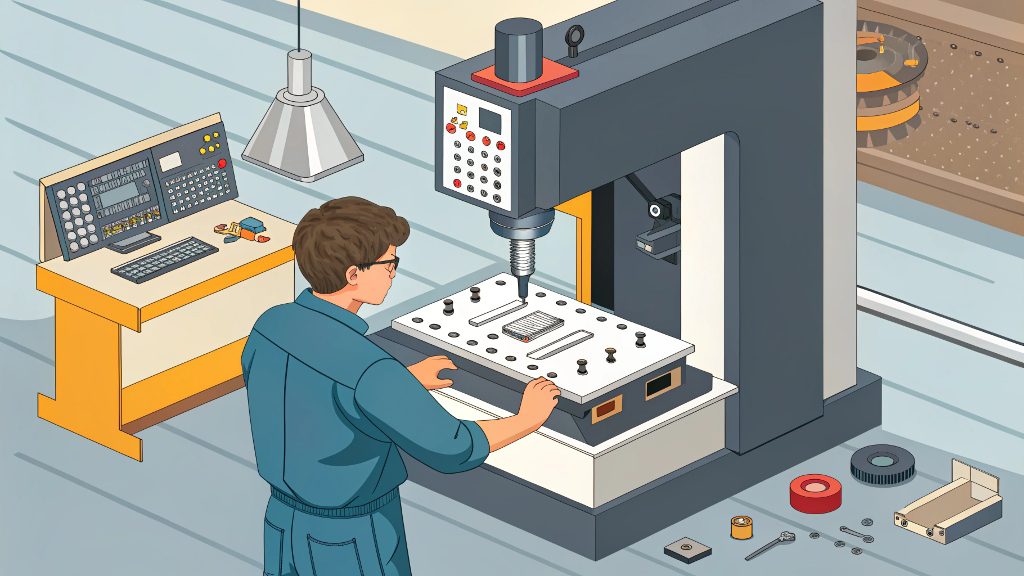
Step 2: Machine Setup
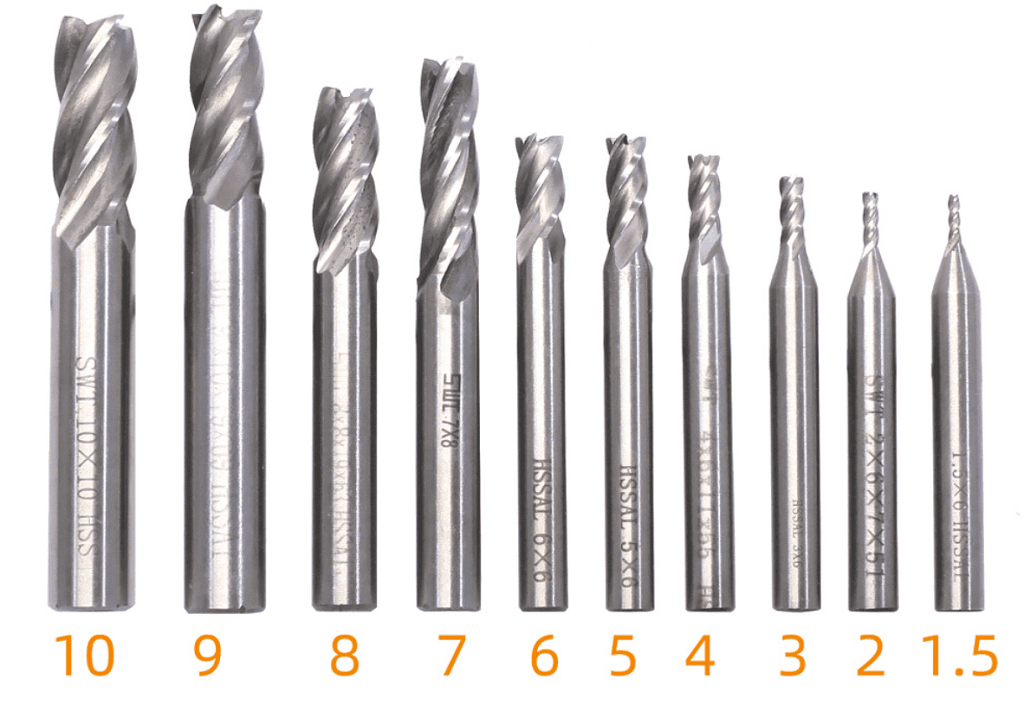
Next, we secure the block of raw material onto the machine's table. Then, we select the right end mill for the job—different materials and features require different types of tools. This tool is loaded into the machine's spindle.
Step 3: Machining
The machine executes the G-code. It begins cutting, precisely removing material to create the desired features. We often use two main cutting methods:
| Milling Type | Cutter Rotation | Workpiece Feed | Chip Thickness |
|---|---|---|---|
| Climb Milling | With the feed | Against the feed | Starts thick, ends thin |
| Conventional Milling | Against the feed | Into the feed | Starts thin, ends thick |
What Is the Golden Rule of Milling?
Your tools are breaking, and the surface finish on your parts is poor. This costs you a fortune in replacement tooling and rejected parts, bringing your production schedule to a halt.
The golden rule of milling is "thick to thin." This means the cutting tool should enter the material at maximum thickness and exit at minimum thickness. It ensures stability, reduces tool wear, and improves the surface finish by preventing vibration and heat buildup.
This "thick to thin" principle might sound a bit technical, but it's something we live by in our shop. It's the core idea behind a technique called climb milling. When I first started, an old-timer told me, "Treat the cutter right, and it'll treat your part right." He was talking about this rule. By making the tool bite into the material with force and then glide out, you get a cleaner cut.
Think of it like cutting a carrot with a kitchen knife. If you start by pressing down hard and then slicing through (thick to thin), you get a clean break. If you try to scrape it thinly and then push harder (thin to thick), the knife might slip or chatter. It's the same idea in milling.
Why This Rule Is So Important
- Heat Management: Most of the heat generated from cutting goes into the chip, not the tool or the workpiece. This keeps everything cool and prevents the material from warping.
- Tool Life: Following this rule significantly reduces the stress on the cutting edges of the end mill. This means our tools last longer, and we can pass those savings on to our customers.
- Surface Finish: A stable, clean cut means a smoother surface. This reduces the need for secondary finishing operations, saving time and money.
What Is the Purpose of an End Mill?
You have a complex design with pockets, slots, and unique contours. A simple drill or saw won't work. How do you create these detailed features with precision and efficiency?
An end mill's purpose is to perform a wide variety of cutting operations beyond simple drilling. Its design allows it to cut not only downwards (like a drill) but also sideways (peripherally). This makes it essential for creating complex shapes, profiles, and cavities in a workpiece.
An end mill is the workhorse of any CNC machine shop. I remember a project for a client in the robotics industry who needed an aluminum part with intricate internal pockets and curved channels. A drill could only make a round hole. An end mill, however, could move along a programmed path to carve out those exact shapes with tight tolerances down to +/- 0.001".
The versatility comes from the tool's geometry. The cutting edges, known as flutes, wrap around the side and often cover the bottom face. This unique design gives it capabilities for several key milling tasks.
Core Functions of an End Mill:
- Facing: Creating a flat, smooth surface on the top of a part. The end mill moves across the workpiece to machine it flat.
- Slotting: Cutting a groove or slot into a part. This is done by plunging the end mill and moving it along a straight line.
- Pocketing: Machining out a cavity or "pocket" of material from the interior of a part, leaving the surrounding material intact.
- Profiling: Cutting around the outside perimeter of a workpiece to create a specific shape or contour.
- Contouring: Creating complex 3D surfaces by moving the end mill in multiple axes simultaneously, which is a key part of our 5-axis CNC machining services.
What Materials Can End Mills Cut?
You need to machine a specific material, but you're unsure if it can be milled. Choosing the wrong process can damage your material and result in a failed project.
End mills can cut a vast range of materials, from soft plastics and woods to the hardest metals. The key is selecting the right type of end mill—specifically its material, coating, and geometry—to match the hardness and properties of the workpiece material for optimal performance.
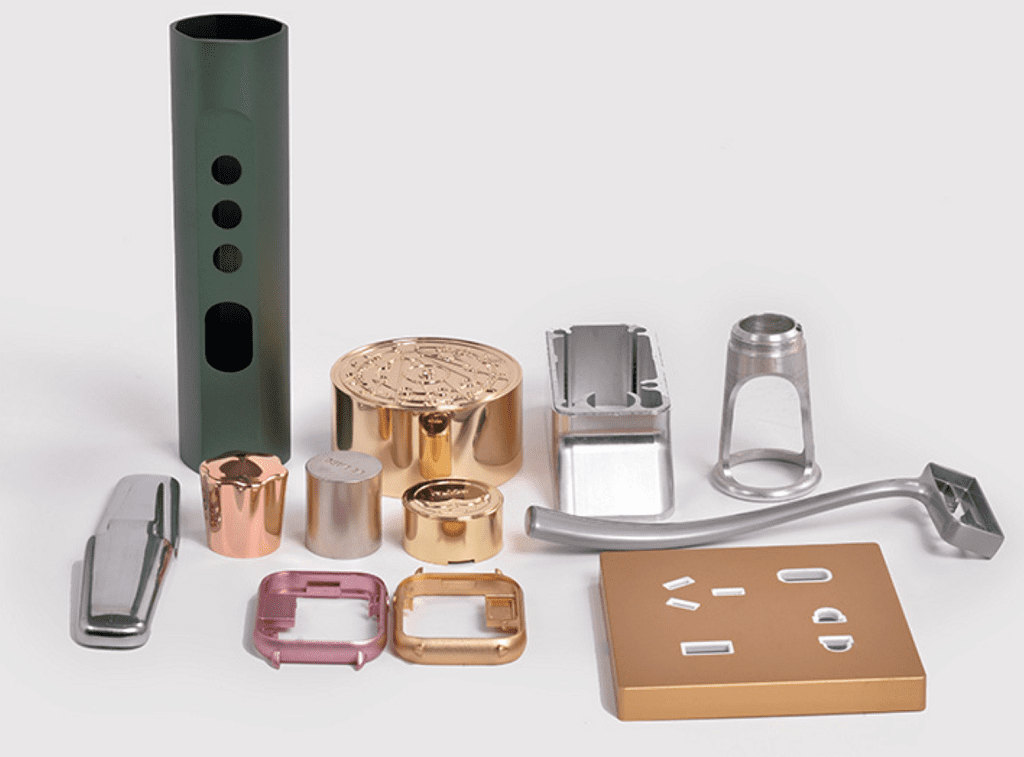
In my experience running Worthy, we’ve machined over 100 different materials for clients across North America, Europe, and Australia. The secret isn't just if you can mill a material, but how you do it. For example, machining soft aluminum requires a different approach than tough stainless steel. We have to adjust speeds, feed rates, and most importantly, the end mill itself.
The right end mill for the job depends entirely on the material being cut. Using a standard steel end mill on hardened tool steel will destroy the tool instantly. That’s why we have a huge selection of specialized cutters.
Here is a simplified table showing which end mills work best for common materials:
| Workpiece Material | Recommended End Mill Material | Why It Works Well |
|---|---|---|
| Aluminum & Plastics | High-Speed Steel (HSS) or uncoated Carbide | Affordable and effective for soft materials. Carbide with polished flutes prevents material from sticking. |
| Steel & Stainless Steel | Coated Carbide (e.g., TiAlN, AlTiN) | The coating adds hardness and heat resistance, allowing for higher cutting speeds and longer tool life. |
| Titanium & Superalloys | Specialized Coated Carbide | These materials are very tough and generate a lot of heat, requiring tools with superior wear resistance and coatings. |
| Hardened Steels | Ceramic or Cubic Boron Nitride (CBN) | Extremely hard materials engineered to cut other hardened metals effectively at high temperatures. |
From prototyping for hardware startups to high-volume production for the automotive industry, having the right tool for every material is non-negotiable.
Conclusion
End milling is a precise, versatile process for creating complex parts. By understanding the process, its golden rule, and the right tools, you can achieve amazing results for any project.