How to Achieve Tight Tolerances in CNC Machining: Expert Guidelines?
Struggling with tight tolerances in your CNC parts? Rejections and waste can be frustrating. Learn expert tips to achieve precision every time.
Achieving tight tolerances in CNC machining involves consistent processes. For new machines, regular checks suffice. For older machines, dedicated QA/QC, advanced inspection, and real-time measurement are key to ensuring dimensional stability and precision.
You want parts that fit perfectly, every single time. It's a common goal in precision manufacturing. But getting there can feel like a real challenge. Let's break down how you can make tight tolerances a reality in your CNC machining projects. We've learned a lot over the years at Worthy Hardware, and I want to share that with you. This will help you understand what goes into making those precise components you need.
What is the tightest tolerance for CNC?
Wondering about the absolute limits of CNC precision? Achieving ultra-tight tolerances seems impossible. Discover what's truly achievable and how.
The tightest CNC tolerance isn't a single number. It depends on the machine, material, and part complexity. We at Worthy Hardware can achieve sub +/- 0.001" (+/- 0.0025 mm) with careful process control.
Defining the "tightest" tolerance for CNC machining is tricky because it's not a fixed value. It really depends on several things. Think about the machine itself – its age, how well it's maintained, and its inherent capabilities. A brand-new, high-end 5-axis machine will naturally be capable of tighter tolerances than an older, less maintained 3-axis machine. Then there's the material being machined. Some materials, like certain grades of aluminum or steel, are more stable and easier to machine precisely. Others, like some plastics or exotic alloys, can be more challenging due to factors like thermal expansion or tool wear. Part geometry also plays a big role. Complex features, very thin walls, or deep pockets can be harder to hold to tight tolerances.
At Worthy Hardware, we regularly work with very precise requirements. Our capabilities allow us to manufacture and inspect parts to extremely tight tolerances, including those below +/- 0.001 inch (which is about +/- 0.0025 millimeters). This requires meticulous planning, using the right cutting tools, having skilled machinists, and robust quality control processes. So, while there's no universal "tightest" tolerance that applies to every situation, very high precision is definitely possible with the right approach and equipment. It's about understanding the variables and pushing the boundaries of what's possible for each specific project.
How to improve CNC machine accuracy?
Is your CNC machine not delivering the accuracy you need? Inconsistent parts cause headaches. Let's explore practical ways to boost its precision.
Improve CNC accuracy through regular machine calibration and maintenance. Use high-quality cutting tools, control the environment (temperature), and optimize G-code programming. Skilled operators and consistent material quality are also vital.

Improving CNC machine accuracy[^1] is something we focus on constantly at Worthy Hardware. It’s not just one thing, but a combination of factors that all contribute to the final precision of a part. First, regular machine maintenance is absolutely crucial. This means consistent calibration of the machine axes, checking for any wear and tear on components like ball screws or guideways, and ensuring everything is perfectly aligned. Think of it like tuning a musical instrument; if it's out of tune, you can't play good music.
We also pay very close attention to the cutting tools[^2]. Using sharp, high-quality tools specifically designed for the material being machined makes a huge difference. Worn or incorrect tools can lead to inaccuracies, poor surface finish, and increased cutting forces that can deflect the workpiece or tool. The environment matters too. Temperature fluctuations in the workshop can cause the machine structure and the workpiece to expand or contract, affecting precision. So, maintaining a stable temperature, ideally with climate control, is important for high-accuracy work.
Then there's the programming side – optimizing toolpaths, feeds, and speeds in the G-code can significantly enhance accuracy and reduce machining time. And, of course, skilled operators who understand the machine, the materials, and the process are invaluable. They can spot potential issues early and make necessary adjustments on the fly. It’s a holistic approach to ensure every part meets the required precision.
How can we correct machine tolerance?
Facing tolerance deviations in your machined parts? Out-of-spec components are costly. Discover methods to actively correct and manage machine tolerances.
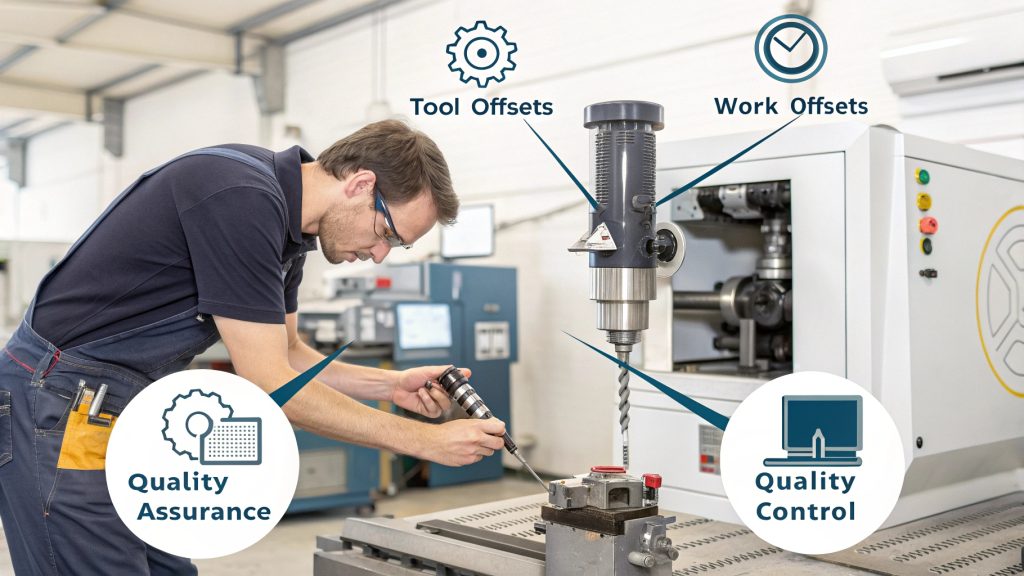
Correct machine tolerance by calibrating the machine, using tool and work offsets effectively, and implementing feedback loops with CMM data. Regular inspection and process adjustments by QA/QC teams are essential for maintaining precision.

Correcting machine tolerance is an ongoing process, especially when you're aiming for high precision like we do at Worthy Hardware. It's not a "set it and forget it" kind of thing. One fundamental step is, as mentioned before, machine calibration. If the machine itself isn't measuring and moving accurately, your parts won't be accurate either. We also use tool offsets and work offsets extensively. Tool offsets compensate for variations in tool length, diameter, and wear. Work offsets establish the precise location of the workpiece relative to the machine's coordinate system. These need to be set accurately at the start of a job and sometimes adjusted during a production run, especially for long runs or when tool wear becomes a factor.
For more advanced correction, particularly with older machines or when dealing with very tight tolerances, we rely heavily on our Quality Assurance (QA) and Quality Control (QC) teams. As I've found from my experience, if a CNC machine has been in use for over three years, having dedicated QA and QC personnel using advanced inspection equipment is vital. They perform real-time measurements, often using devices like Coordinate Measuring Machines (CMMs), and provide feedback. This might involve checking critical dimensions on parts as they come off the machine. If any deviations are found, that data is fed back to the machinists to adjust machine parameters, like tool offsets, to bring the process back into control. This closed-loop approach helps us catch and correct deviations before they lead to a large number of out-of-spec parts, ensuring dimensional stability.
What is the ISO standard for machining tolerance?
Confused about which tolerance standards apply to your CNC parts? Misunderstandings lead to errors. Learn about the key ISO standards for machining.
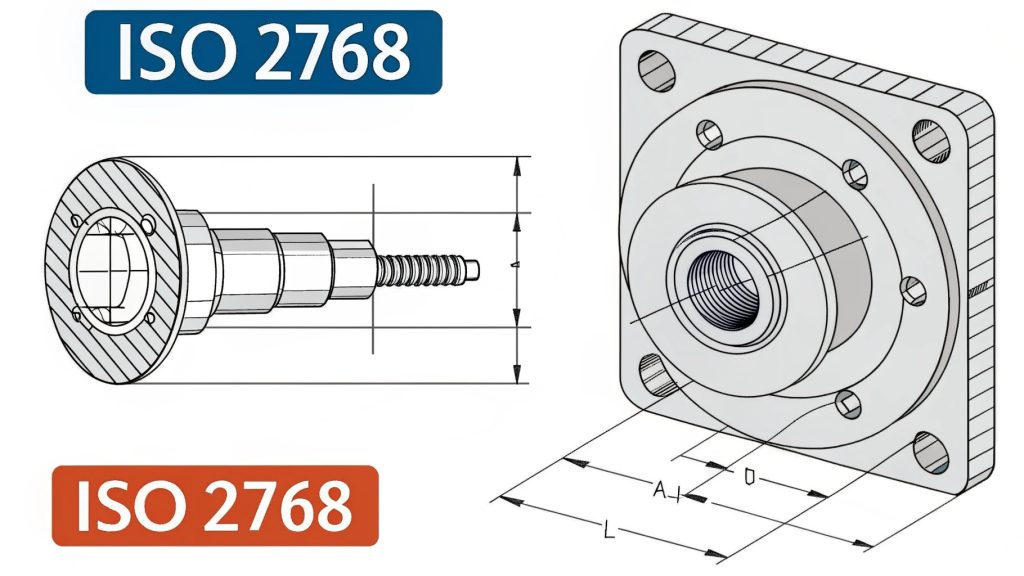
The main ISO standard for general machining tolerances is ISO 2768. It provides default tolerances if none are specified. For tighter, specific needs, Geometric Dimensioning and Tolerancing (GD&T) on drawings is crucial.

When we talk about ISO standards for machining tolerances, the most common one that comes up is ISO 2768. This standard is very useful because it provides general tolerances for linear and angular dimensions, as well as geometric tolerances (like flatness, straightness, and perpendicularity), for parts that are made by metal removal (machining) or forming. It's often used as a default standard if no specific tolerances are indicated on an engineering drawing. This helps to avoid ambiguity. ISO 2768 has different tolerance classes.
For linear and angular dimensions, these are often denoted by letters like 'f' (fine), 'm' (medium), 'c' (coarse), and 'v' (very coarse). For geometric tolerances, classes like H, K, and L are used. You pick the class that suits your application's needs. However, it's important to understand that ISO 2768 is for general tolerances. When you need really tight, specific control over certain features, or when the functional relationship between features is critical, that's where Geometric
Dimensioning and Tolerancing (GD&T) comes in. GD&T is a more sophisticated symbolic language used on engineering drawings to define the nominal geometry of parts and assemblies, and the allowable variation in form, orientation, location, and profile of features. It allows for much more precise and unambiguous control than general tolerances alone. So, while ISO 2768 provides a good baseline, critical dimensions and features on a part will usually have specific tolerances and GD&T callouts directly on the part drawing to ensure they meet the design intent and functional requirements. At Worthy Hardware, we are proficient in interpreting and machining to both ISO 2768 and detailed GD&T specifications.
Conclusion
Achieving tight CNC tolerances requires careful planning, machine upkeep, skilled operation, and robust quality control. Follow these guidelines for consistent precision in your projects.

